
Imagine having a tireless digital assistant who works 24/7. They welcome every new subscriber the second they sign up, remember every customer’s birthday with a special offer, and gently remind shoppers when they leave items in their cart. They never sleep, never complain, and never make a typo.
This isn’t science fiction; this is marketing automation.
At ZenFix Academy, our mission is simple: we want to empower digital creators like you to master automation and grow faster. We believe in building smart marketing systems that work for you, not against you. But before you can build complex machines, you need to understand the nuts and bolts.
If you’ve ever looked at an automation workflow builder in a tool like Brevo and felt overwhelmed by the blank canvas of interconnecting lines and boxes, this guide is for you.
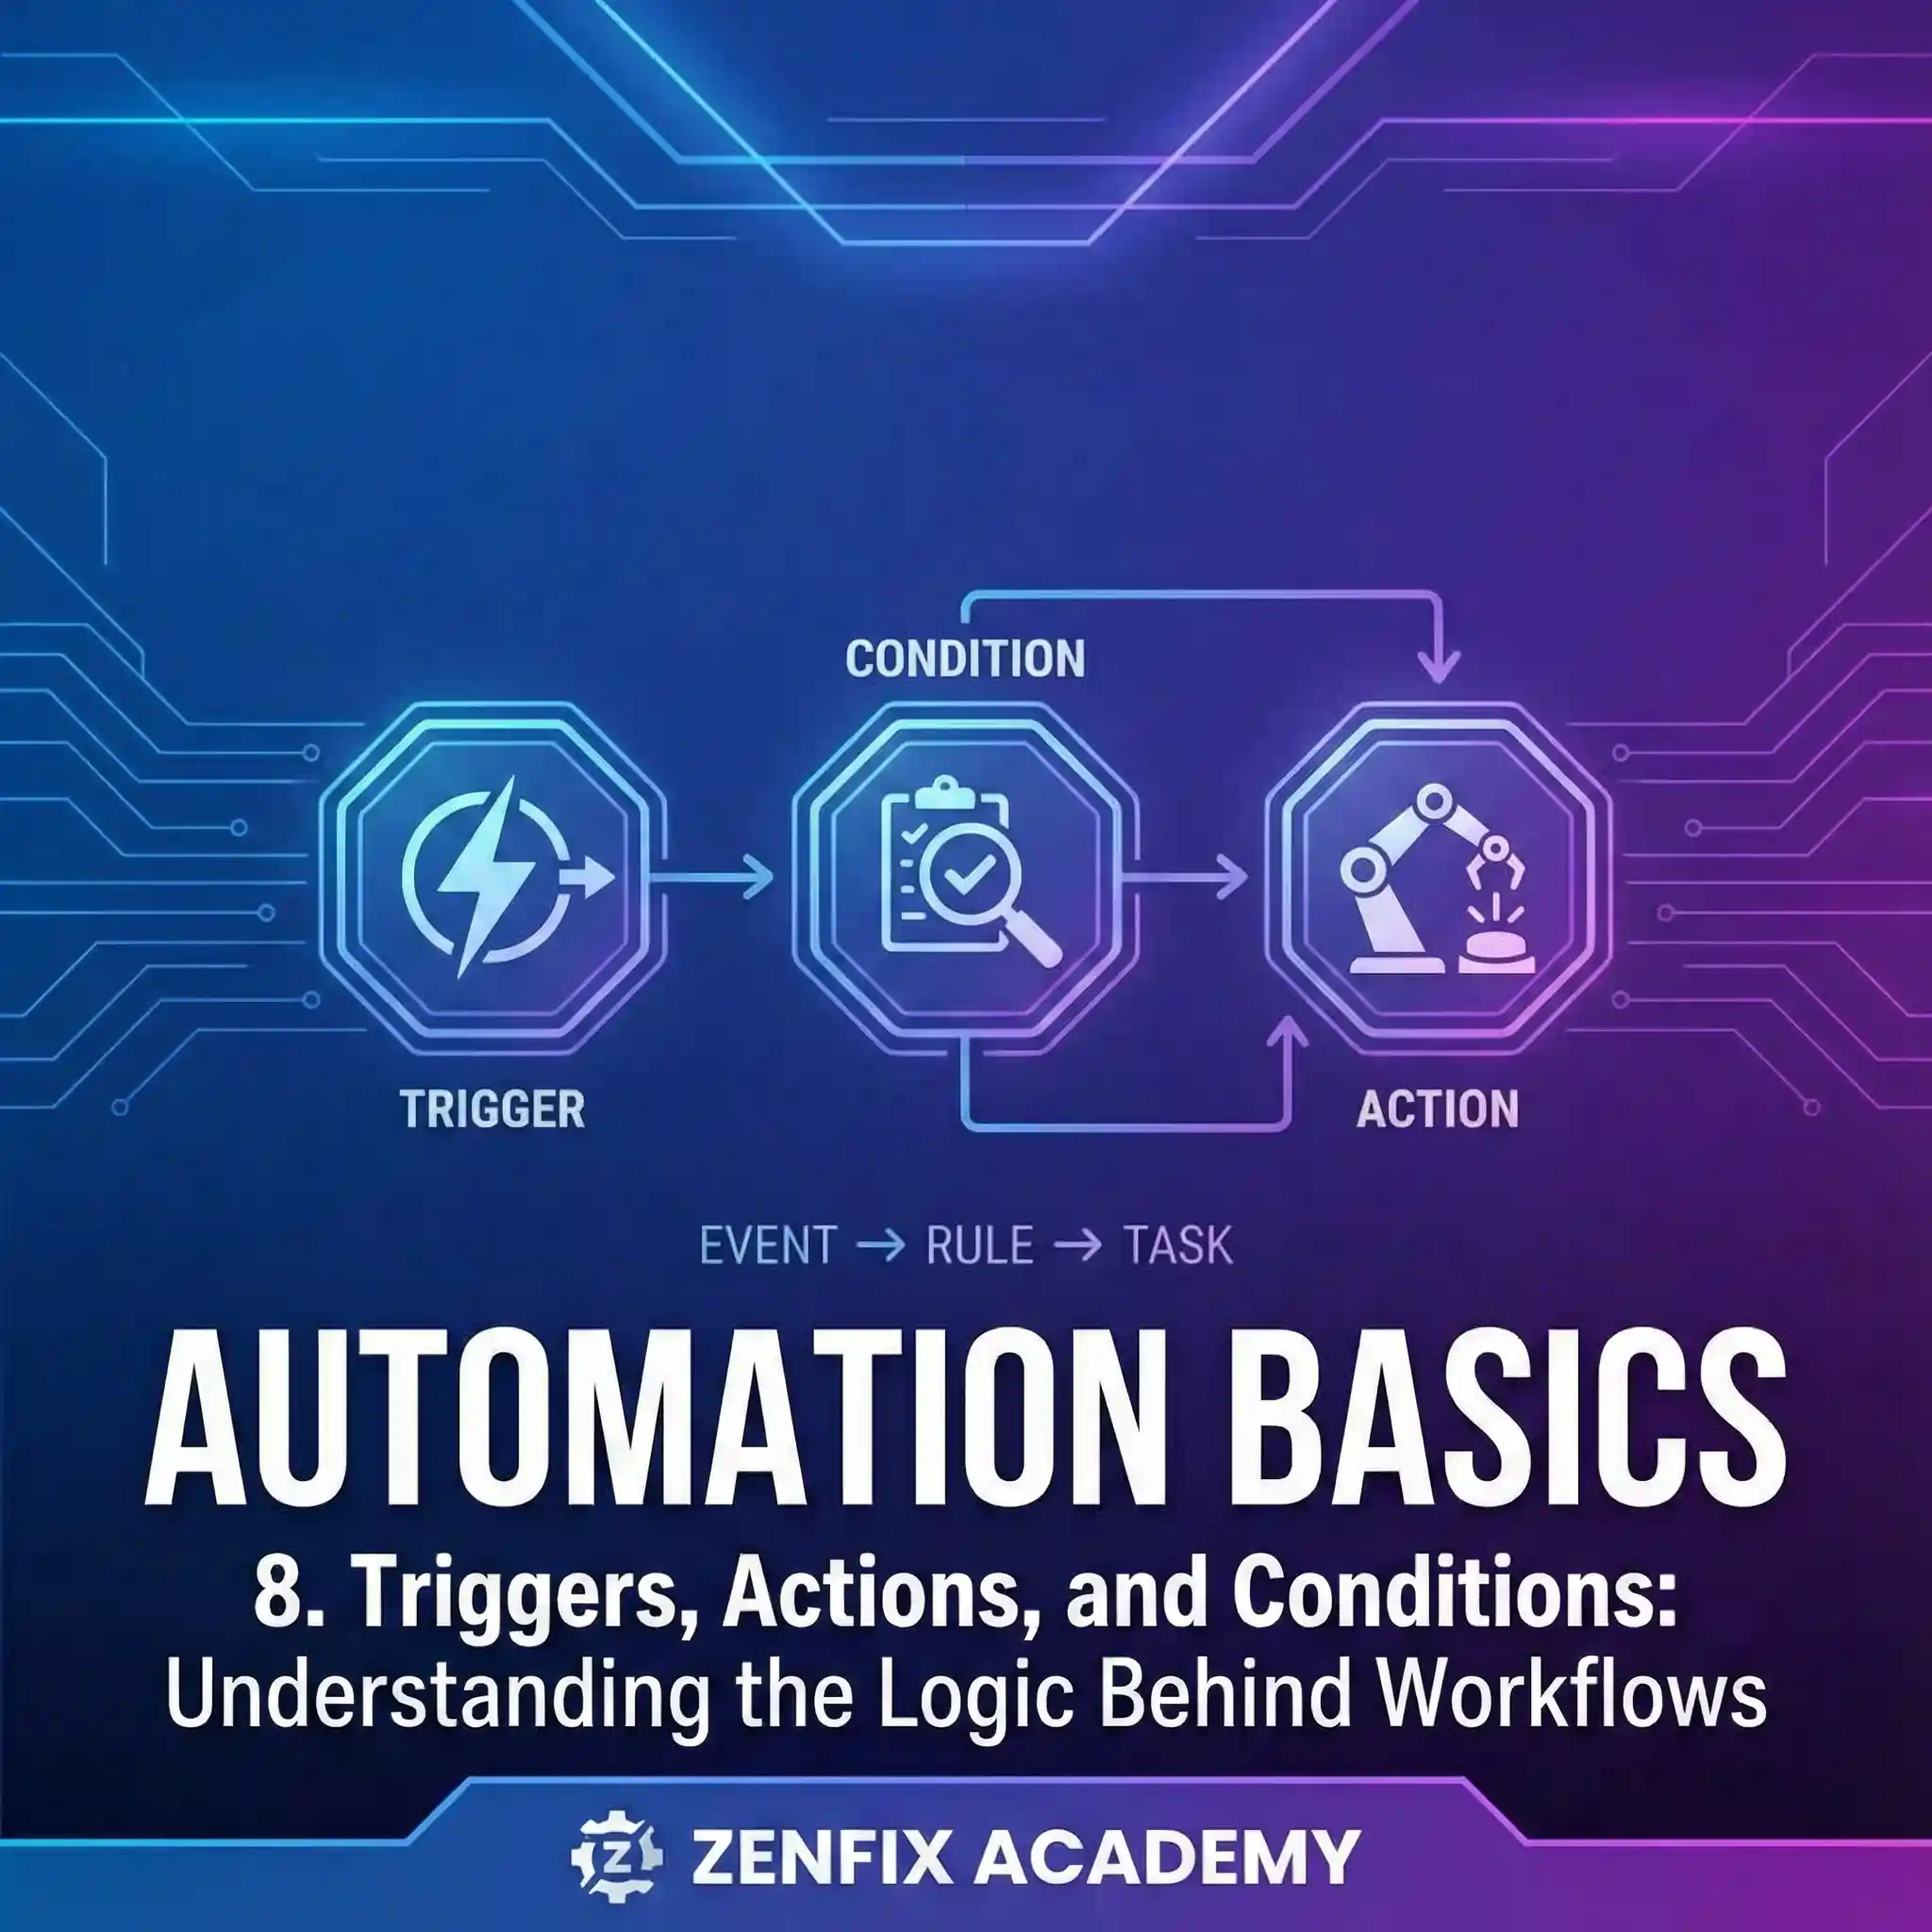
We are going to demystify the three fundamental components that make up the “DNA” of every automated workflow: Triggers, Actions, and Conditions.
The “If/Then” Engine Room
At its core, marketing automation is shockingly simple. It is based on the same logic that runs much of the computer world: the “If/Then” statement.
-
IF something specific happens (The Trigger), THEN do this other thing (The Action).
When you string these together, you create a “workflow”—a sequence of automated steps designed to achieve a goal, like nurturing a lead or recovering lost sales.
However, to make marketing truly effective, we need it to be personal. We don’t want to treat every single subscriber exactly the same way. That’s where the third element comes in: Conditions. Conditions act as filters, allowing your “If/Then” statements to become smarter.
-
IF something happens (Trigger), AND they meet specific criteria (Condition), THEN do this thing (Action).
Let’s break these three pillars down, moving from theory to practical application.
1. The Trigger: The Spark That Starts the Fire
Every journey begins with a single step. In automation, every workflow begins with a Trigger.
A trigger is the “When.” It is the specific event detected by your marketing software that tells the system to start a workflow. Without a trigger, your automation is just a dormant plan waiting to happen.
Triggers generally fall into three main categories:
A. Behavioral Triggers (What they do)
These are based on user actions. They are incredibly powerful because they allow you to respond immediately to engagement.
-
A user submits a sign-up form on your website.
-
A subscriber clicks a specific link in your weekly newsletter.
-
A customer visits a specific pricing page more than three times.
B. Temporal Triggers (Time-based)
These are based on dates or elapsed time related to the contact’s data.
-
It is currently the contact’s birthday.
-
Exactly 7 days have passed since they signed up.
-
It is 30 days before their subscription renewal date.
C. Transactional/Data Triggers (Changes in status)
These occur when a piece of information about the contact changes in your database or CRM.
-
A contact is added to the “VIP Customer” list.
-
A contact’s lead score reaches 100 points.
Key Takeaway: When planning a workflow, always ask yourself: “What is the very first thing that needs to happen to kick this process off?” That is your trigger.
2. The Action: Doing the Heavy Lifting
If the trigger is the starting gun, the Action is the running of the race.
Actions are the “What.” They are the specific tasks your automation tool performs automatically once the trigger has fired. While “sending an email” is the most common action in email marketing, modern automation tools can do much more than just hit send.
Actions help you stay organized and ensure the right message gets to the right person at the right time without you lifting a finger.
Common automation actions include:
-
Communication Actions: Sending an email, sending an SMS message, or sending an internal notification to your sales team (e.g., “Hot lead alert!”).
-
Database Actions: Adding or removing a contact from a specific list, updating a custom field (e.g., changing a subscriber status from “Prospect” to “Customer”), or assigning a lead score.
-
Workflow Actions: Adding a delay (e.g., “Wait 2 days before the next step”).
To see step-by-step guides on setting up these actions, check out our extensive library of tutorials at ZenFix Academy.
3. The Condition: The Brains of the Operation
The “Brain” of Your Automation
If you only relied on Triggers and Actions, your marketing strategy would feel incredibly robotic. It would be comparable to a salesperson walking up to every single person they meet—whether it is a CEO, a student, or a retiree—and reading the exact same script without taking a breath. Everyone who signed up would receive the exact same sequence of emails regardless of who they are, what they bought, or what they are actually interested in.
This is where “Conditions” come into play.
While triggers start the car and actions drive it forward, conditions are the steering wheel. They are the “If” statements that act as logic gates or intelligent filters planted in the middle of a workflow. They pause the automation for a split second to check specific data points before deciding which path a contact should take next.
Without conditions, you are just blasting information. With conditions, you are having a responsive conversation. They are the specific element that turns a simple, linear autoresponder into a sophisticated marketing automation machine. This transformation is what allows you to achieve segmentation and personalization at scale without having to manually monitor every single subscriber.
How the Logic Works
At its core, a condition typically asks a simple “Yes/No” question about the contact currently moving through the workflow. Based on the answer, the path splits.
Think of it like a traffic cop directing cars based on their destination. The condition looks at the contact and asks: “Does this person meet the specific criteria?”
-
The ‘Yes’ Path: If the data matches, the contact moves down the positive path to receive content tailored to that specific behavior or trait.
-
The ‘No’ Path: If the data does not match, they are diverted to an alternative path. This is important because the “No” path isn’t a dead end. It is simply a different route designed for someone who needs a different approach.
Here is a breakdown of how this shifts the user experience:
Table 1: Linear vs. Conditional Automation
| Feature | Linear Automation (Triggers & Actions Only) | Conditional Automation (With Logic Gates) |
| Flow Structure | A straight line. Everyone walks single file. | A branching tree. Users take unique paths. |
| Content Relevance | Generic. Hopes to appeal to the “average” user. | Highly relevant. Speaks to specific needs or actions. |
| User Feeling | “I am just a number on a list.” | “This brand understands what I need.” |
| Risk Factor | High risk of fatigue and unsubscribes. | Low risk. Engagement usually increases. |
Behavioral Conditions in Action
Let’s look at a practical example regarding user behavior. This is often where automation provides the most value. You send an important email, but not everyone interacts with it the same way.
The Question: Did this person open the previous email?
If the answer is Yes, you know they are interested. You don’t need to sell them on the concept again.
-
Yes Path: You send a follow-up email that dives deeper into the technical details or offers a link to a case study. You assume they are engaged and ready for the next step.
If the answer is No, they might have missed it, or the subject line didn’t grab them. Sending the follow-up email would be confusing because they haven’t seen the first one.
-
No Path: You wait two days and then resend the original email, but this time you change the subject line to try a new angle. If they still don’t open it, the logic might move them to a “passive” list so you don’t annoy them.
Demographic and Attribute Conditions
Conditions aren’t limited to what a user does. They can also be based on who a user is. This relies on the data you have collected, such as tags, custom fields, or purchase history.
The Question: Is the contact tagged as a “Premium User”?
If the answer is Yes, you want to reward loyalty.
-
Yes Path: The system automatically sends an exclusive “VIP only” discount code or early access to a new product.
If the answer is No, you want to encourage growth.
-
No Path: The system sends a standard upgrade offer explaining the benefits of becoming a Premium User.
This simple split ensures you aren’t annoying your best customers with upgrade ads they don’t need, and you aren’t sending VIP codes to people who haven’t qualified for them yet.
Here are a few common ways marketers use these logic gates to filter their audience:
Table 2: Common Condition Scenarios
| Condition Category | The “If” Question | Potential Use Case |
| Engagement | Did they click the link in the last email? |
Yes: Send a sales page.
No: Send a blog post to build more trust. |
| Purchase History | Has this contact bought Product X? |
Yes: Send a cross-sell for Product Y.
No: Send a discount coupon for Product X. |
| Website Activity | Did they visit the pricing page? |
Yes: Trigger an email from the sales team.
No: Continue standard nurturing sequence. |
| Demographics | Is their location set to “New York”? |
Yes: Invite to a local in-person event.
No: Invite to a virtual webinar. |
The Value of the “No”
It is easy to focus heavily on the “Yes” path—the people who are clicking, buying, and opening. However, the true power of conditions often lies in how you handle the “No” path.
In a linear workflow, if someone doesn’t buy, they just keep getting the next email until the sequence ends. With conditions, the “No” path allows you to slow down. You can pivot to educational content, ask for feedback, or simply pause communication for a week to let the user breathe.
By using conditions effectively, you ensure that you aren’t pestering engaged users with repetitive content they have already consumed. Simultaneously, you ensure you aren’t ignoring disengaged users who might just need a different value proposition to get them on board. It makes your automated system feel less like a robot and more like a helpful assistant.
Summary Table: The Logic Components
Here is a quick reference guide to remember the roles of these three components.
Putting It Together: A Real-World Example
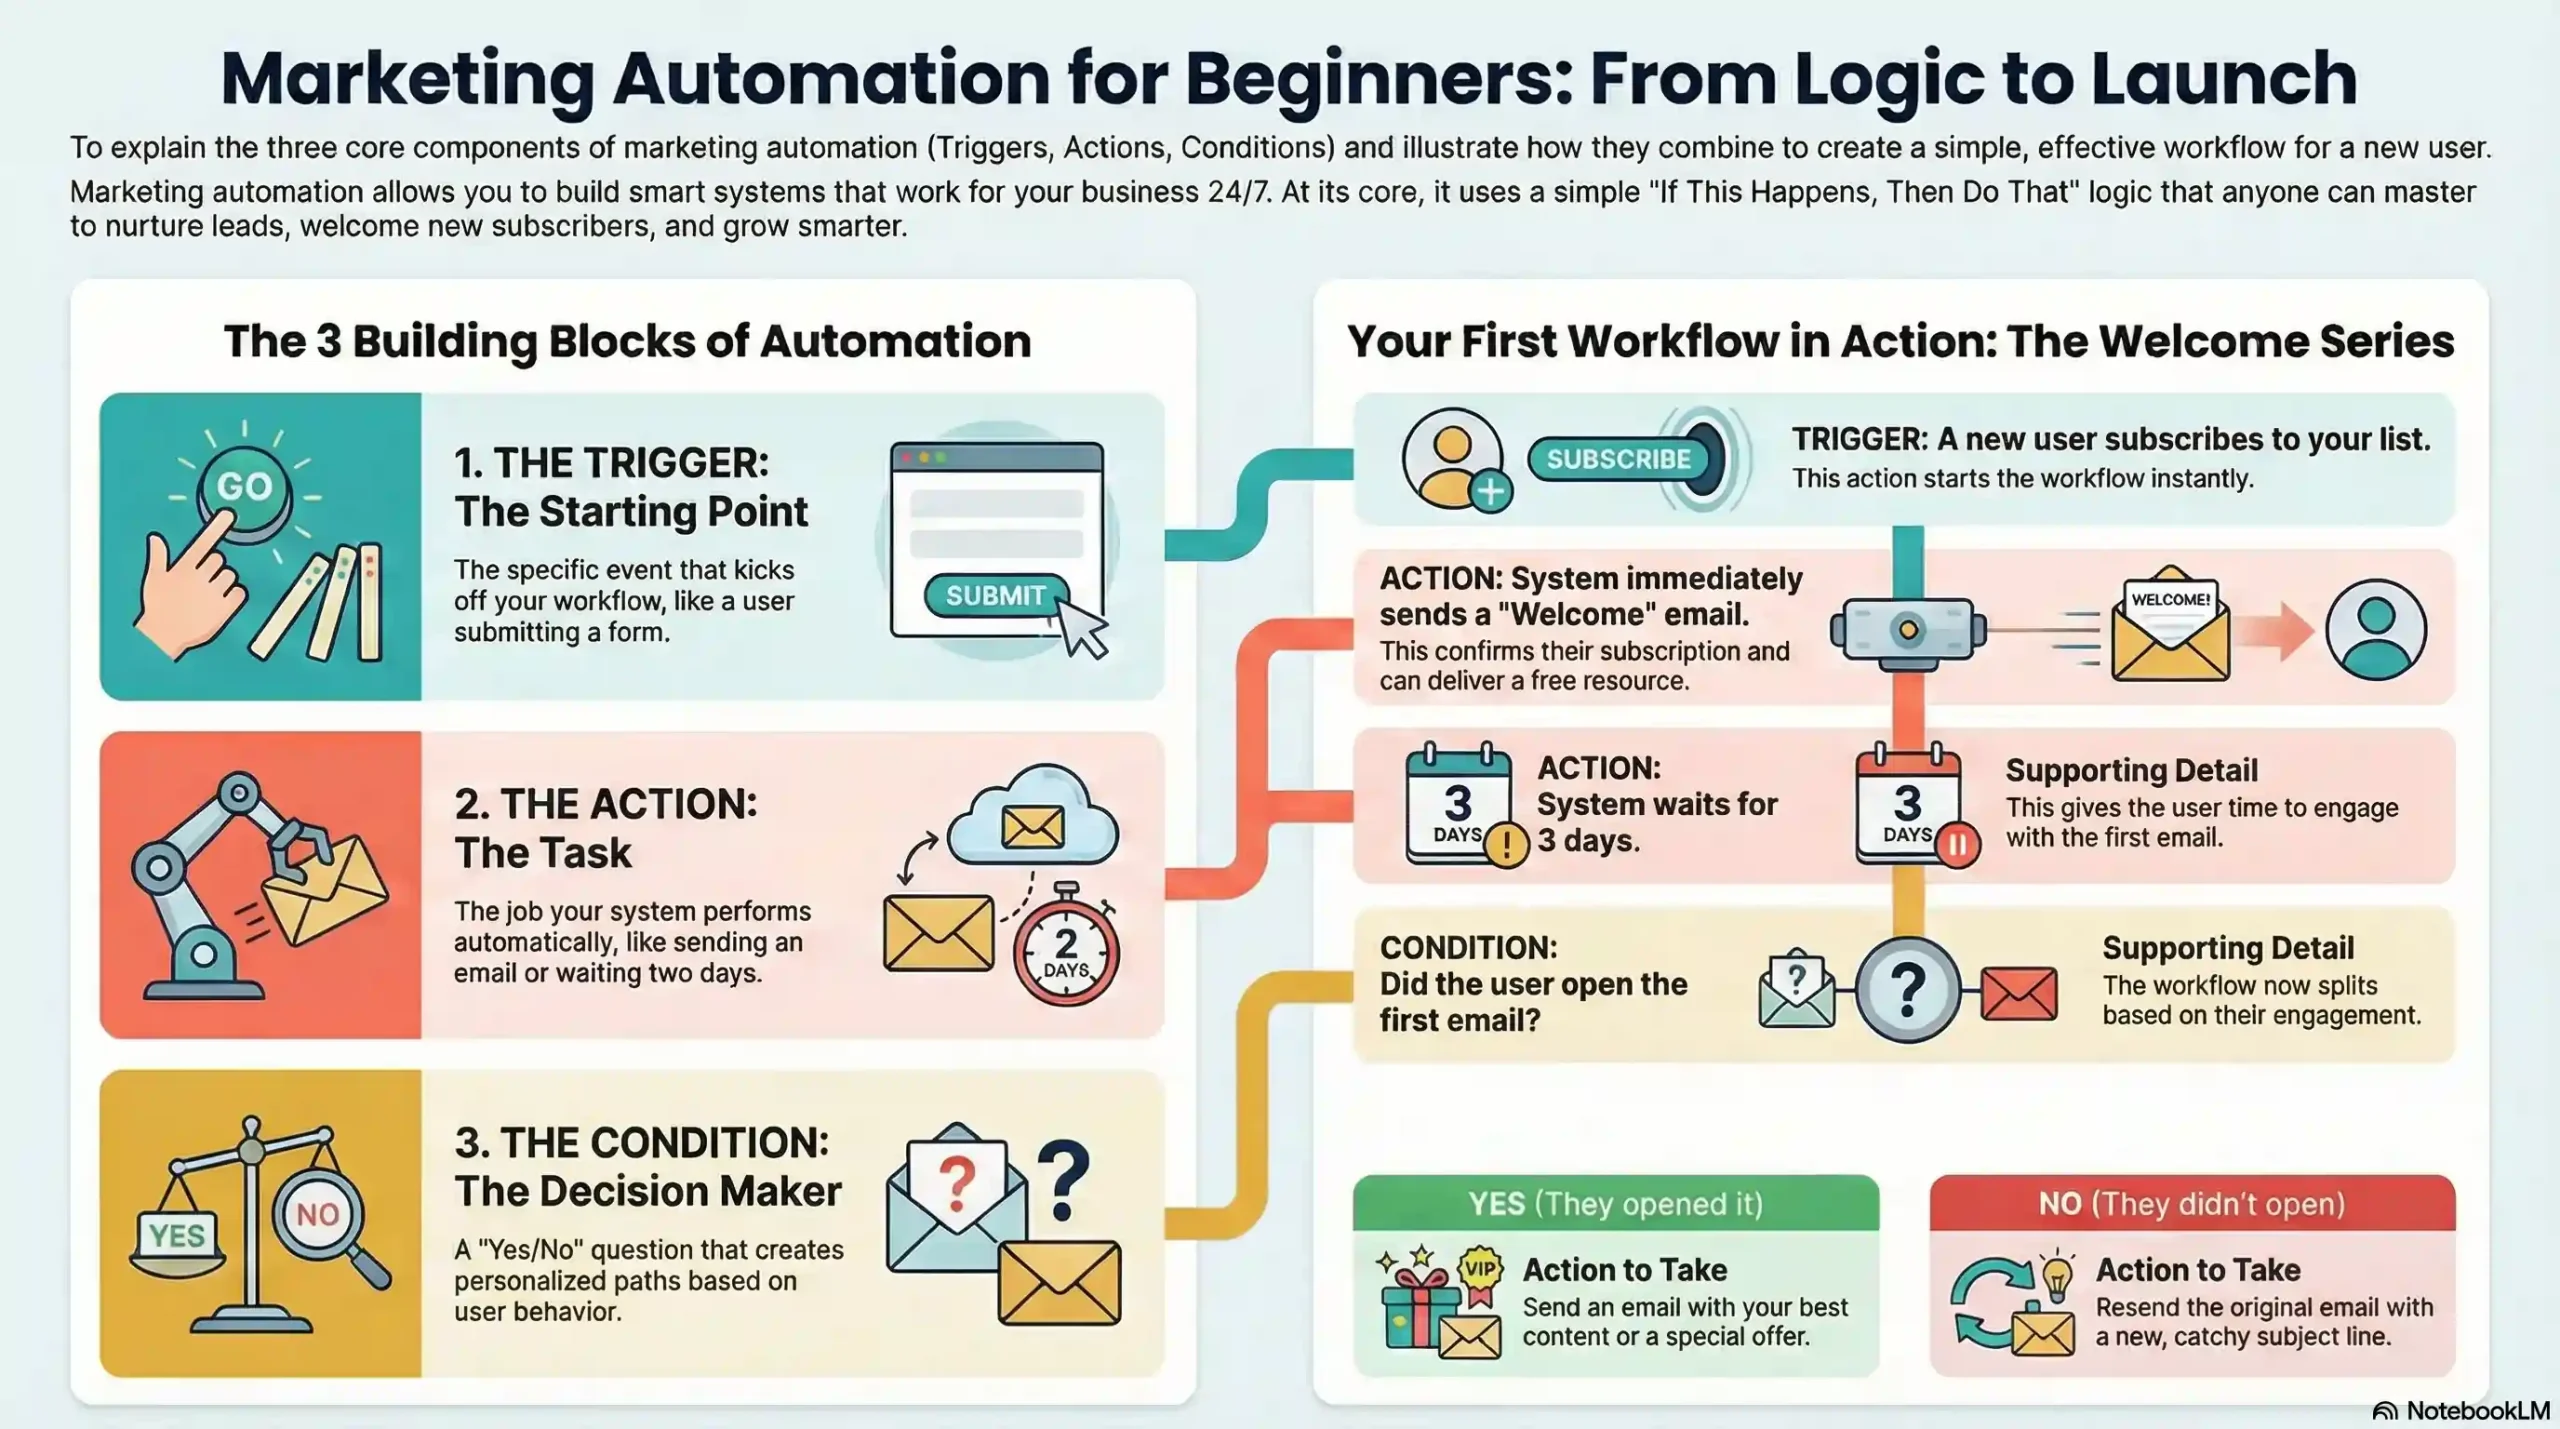
Let’s visualize how these three elements work together in a standard “Lead Nurturing” workflow designed for a digital creator selling an online course.
The Goal: Turn a new freebie downloader into a course buyer.
-
THE TRIGGER (The Spark): A visitor on your website fills out a form to download your free “5-Step SEO Checklist” PDF.
-
The workflow begins instantly.
-
-
ACTION 1 (The Doing): The system immediately sends an email containing the download link for the checklist.
-
ACTION 2 (The Wait): The system waits for 2 days to give them time to read the PDF.
-
THE CONDITION (The Brain): After 2 days, the system asks: Did the contact click the download link in the first email?
-
PATH A (YES – They engaged):
-
Action: Send Email #2 offering advanced tips related to the checklist and softly mentioning your paid course.
-
-
PATH B (NO – They got distracted):
-
Action: Send a reminder email: “Hey, don’t forget your SEO checklist download!”
-
-
By using that one simple condition, you’ve created two distinct experiences based on user behavior. That is smart automation.
Frequently Asked Questions (FAQs) About Automation Logic
At ZenFix Academy, we believe in honest, beginner-friendly learning. Here are some common questions we get from marketers just starting with automation.
Q1: Can a workflow have more than one trigger?
A: Yes, absolutely. Most advanced automation tools allow multiple entry points. For example, a “New Customer Welcome Sequence” could be triggered if someone buys Product A OR if someone buys Product B.
Q2: What happens if a contact doesn’t meet a condition?
A: They simply go down the “No” path. If you haven’t defined a “No” path, the workflow usually just ends for them right there. It’s always best practice to define both paths to ensure no one falls through the cracks.
Q3: Do I need to know coding to use triggers and actions?
A: Not anymore! Modern tools like Brevo, ActiveCampaign, or ConvertKit use visual “drag-and-drop” builders. You don’t need to write a single line of code; you just need to understand the logic we discussed in this article.
Q4: Where can I find templates so I don’t have to start from scratch?
A: We have a growing library of free templates and blueprints available in our resources section to help you save hours of setup time.
Conclusion: Start Simple, Scale Smarter
Understanding Triggers, Actions, and Conditions is the graduating step from “email blasting” to true marketing automation. Once you grasp this logic, you will start seeing opportunities for automation everywhere in your business.
Don’t try to build a massive, complex machine on day one. Start with a simple Welcome workflow using one trigger and two actions. Once that’s running, try adding a condition.
Remember the ZenFix Academy motto: Learn basics, build smart systems, and grow faster.
Ready to build your first workflow? Head over to our tutorials page and let’s get started.
Leave a Reply